Wednesday, January 19, 2011

Side Projects


My life is a side project.  I bounce around from one activity to another in an ADD kid sort of way.  That's OK I dig it that way.  I've been working on some projects that I've been wanting to do for a while now...handlebars and stems and eventually racks.  I got some sweet new stem steerer clamps from PMW and have been super excited to turn them into something.  First up is a pair of Bull Moose bars for Scott the Hobot.  I figured this would be pretty quick...man was I wrong.  I think all told it took three days....maybe more.  The coolest part about all this though was the brain puzzle.  It involved breaking down the elements of steering geometry into its axes to change very minor design elements of a handlebar (width, rise, and particularly sweep) while keeping the hand position of the rider essentially the same.  Bending the bar alone took the better part of a day.  I bought a mechanical bender for 7/8" pipe off of ebay for $100 a year ago and have yet to really use it.  After a little modification to the holding mechanism, it works pretty well.  It bends accurately and consistently and the bends are pretty smooth at that.  I wanted to keep the moose bar consistent with the look of Hobot's bike so I sleeved the stem interface and bulged them out with fillets on either side.  The pictures will probably explain the rest but not one bit of this project was easy.  Hopefully the next set will only take a day or so.


Elder Heinchez' bike got colored in real nice with sky blue and a shiny clear coat.  I left the moustache rather scruffy to offset the sheen.  Check it out.


More soon now.

Wednesday, January 05, 2011

A year has gone and a year has come.

Welcome to 2011.  Its really an arbitrary number but I like new years and I like the fresh start that I feel it brings.  As well as the reflection and the opportunity to improve things...yes I'm talking about resolutions.  No, I'm not going to blabber on about mine either, at least not here.  I don't always have them, I just like them.  I am going to reflect a little bit though.  2010.  6 frames and 7 forks (you could probably count the truss fork as some combination of the two).  I definitely learned something new in doing each one.  I'm still honing my process in this experiment, but with each bike or fork I feel like I spend less time at each step and have a better "feeling" as to what will work and what won't.  I developed new ideas, techniques, and methods by pushing through projects that I would never have known if I hadn't just gone for it and as a result built some of the coolest things, bikes, whatever, that I've ever created.  To me what makes this worth it though is the interactions I get to have with the people who commission me.  In the waning hours of 2010 I found myself in a conversation with Elder Heinsius, whose frame I finished only an hour before. He's somewhat new to riding bikes, but not at all unfamiliar with them.  He's been getting increasingly excited about his build and was always stoked to check out his work in progress.  What he told me that I think in the end was that over the many conversations we had in conceptualizing his bike, we didn't talk about bikes all that much.  I mean we did the measurements and the jargon and whatnot, but we really talked about guitars, music, movement, how the Elder gets into things, what fuels his passions.  And through those conversations I really got into his bike.  I think I cranked it out in a week even being laid out two days with a cold.  Not to toot my own horn, this is just what makes it worth it for me.  Getting to know someone in ways that I otherwise wouldn't through building him or her a bike.  Translating conversation and abstract ideas into functional art that I hope represents that person's personality.  I think I can say that of every frame I built this year--it represents its rider's personality.


horseshoe chainstay brace, clearance for 26x2.5s, mud, and a triple.


That being said....at this point I have a hard time with the idea of expanding on what I'm doing.  I kind of like it just where it is.  I already spend entirely too much time in the garage and am at the point where the other things I want to do take a back seat.  I give myself cabin fever here in the winter.  I get kind of freaked at the idea of filling 10 or 20 orders, even knowing what that means.  Right now I have one bike in que and I'm so OK with that.  I need to do something else, have another job, figure things out, go outside more, whatever.  Right now everything in my life comes in very intense waves and then I sort of freak out and have to get out.  I wonder what part of it is my personality and what part of it has to do with spending the four intense summers fighting fires and completely throwing off my balance.  Anybody have any thoughts?

Happy New Year.

Thursday, December 23, 2010

Head tubes (warning: this is probably gonna be dorky.)

I started Elder Heinchez' bike the other day and it features something I don't usually incorporate on most builds....a short tube.  100mm.  This is the shortest I've ever put on a bike....29ers included.  I like to leave them as long as possible, and, well, this one is as long as possible.  Longer head tubes just make sense from a physics and engineering stand point.  They diffuse the stress on the headset cups and bearings from the leverage of the fork and the varying forces applied to it as the front wheel rolls over and impacts the terrain and braking forces are applied.  Imagine the lower headset cup as the fulcrum of a lever in the simple machine sense of things and the upper cup as the object being moved by this machine.    The closer the upper and lower cups are together the easier it is to stress this area (loose headsets, ovalized head tubes, etc.)

A number of factors will dictate the length of a head tube in a bike's design, but ultimately the build of the rider is going to be the limiting factor.  A rider will have a maximum seat height and therefore a maximum or minimum handlebar height.  For most mountain bikes I figure a handlebar height that is equal to the saddle, unless the rider knows he wants handlebar drop.  The other considerations immediately affecting head tube length are:

fork length (axle to crown)...longer travel forks are, well, longer

bottom bracket height--raises/lowers the rider over the axles.  A taller BB warrants a longer head tube.

seat tube angle--a slacker ST will lower rider position

component choices--a riser bar leaves less room for a head tube.  Usually this is not critical but is definitely something to be considered when that space is going to be at a premium.

you could probably also argue that ETT length and head tube angle will affect head tube length, but it seems negligible and these are both design considerations that hold a more important function.

there is no reason to have an excessive stack of headset spacers on a custom bike unless a wide variety of positions is desired by the rider.  To me over 20mm of spacers is excessive (think of the lever and fulcrum, your headset, being worked from the handlebars, too).  Allow for dynamic adjustments for comfort within a range.  Most people as they age, though, fancy comfort (higher handlebars) over speed (lower, more racy position).

The Elder's bike is interesting here.  He is built stout with a long torso and long arms and carries a very good portion of his weight in his upper body.  He wanted a bike that is stable and that gives him confidence on the descents.  Until now he's often felt like the front end on the downhill is a precarious balance point.  This bike will have slacker angles and a lower BB than most that I do, but given his build and experiences, I think this will suit him very well.  He's also the type of rider to barrel through the hard parts, no compromise to parts, so stability is key.  This was a tricky design to work out but the overall lower center of gravity left me with a 100 mm head tube and probably not much room for rise in either the stem or the handlebars.  Now here's where I think this shorty HT is just cool:  with the oversize tubes (31.8 TT, 34.9 DT) and giving myself enough room for a nice fillet on top and enough room to swing a Fox Fork around on the bottom, the top tube and down tube intersect.  This is coming out to be the most precisely mitered bike so far.  The pics below are of the build sequence so far.  I ended up tacking the top tube and head tube and will clean it up as a sub assembly before tacking the down tube.  The seat tube and BB are already tacked and sleeved as is pretty standard.  All said I'm pretty stoked on it.


Wednesday, December 15, 2010

Finnito!

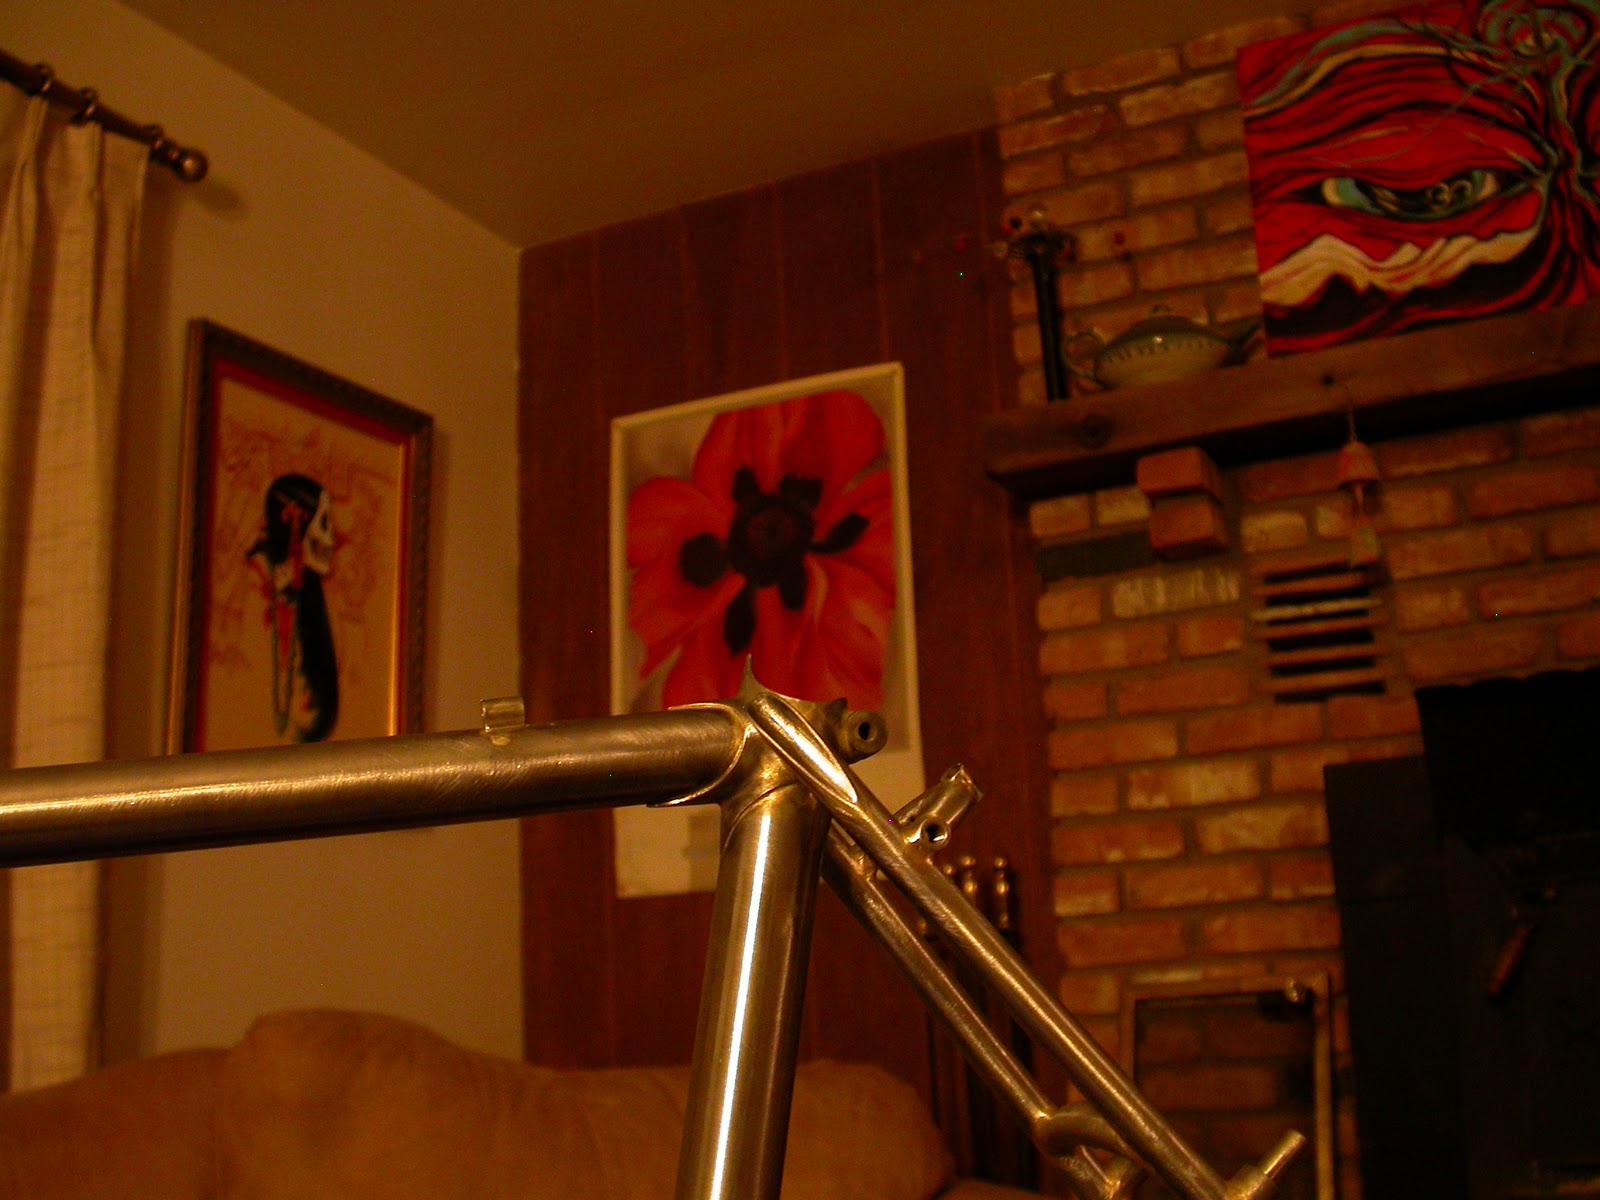
Shawna's bike is finished.  Dun.  tapped and faced and sanded and all that.  Purdy too.  It'll be cool to see it under powder.  The brake bridge is an extension of the upper rack mounts and should be very stiff.  In other shop happening....I got a sweet custom one off handlebar from the Volcano in the mail this summer and have yet to figure out what to do with it but I sanded the rust off and gave it a clear coat of engine enamel and decided to turn the VooDoo into a winter commuter.  All the hydraulics need to be rebuilt though.  The brakes don't work and the fork needs new seals.  Good thing the snow isn't sticking yet.  


The photos are of something that has become somewhat of a ritual to me...as in the new bike gets shown off inside the house for a brief spell and I usually spend the rest of the finished evening staring it and marveling in its creation.  

Elder Heinchez is up next.  He's on the new side to mountain biking and has been riding on mostly borrowed (and ill-fitting) equipment.  It'll be a squat, stable 26" with a long top tube that'll barrel through tough spots in the trail.  The way the Elder described his bike to be is like his guitar playing...he does a lot with a little.  To me that says fat tires....yesss.

Monday, December 13, 2010

Progress

Shawna's bike is coming along.  It has taken a while but I really don't feel like I've put that much time into it.  Its been short days really and lots of days off last week.  Here's a photo update of the progress and a few randoms.


Paragon order came in.  I love ordering from them.  Their stuff is oh so fine.  Ten pairs of Bottle opener dropouts.


Checking things out before moving on.  Tire clearance, alignment, chainring and derailleur clearance.


The nicest of the lugs out of the soak tank.


Mock up with a 68x107 BB, a 9 speed cassette and a 26/36/48 crank, old XTR.  The chainring clearance is a little tight with this setup but I like the chainline with the 107 bb so I'm going to dimple the chainstay on the outside.


Fitting up the seat stays.  This is a piece of 1/2" x .035 chromoly.  This bike was just begging for some straight gauge here.  I looked at some tapered and other options but they just didn't look right.  This was the last piece I had though so I had to track some down.  Thanks Garro.


Dimpling the chain stay.


The dimple.


Blended the head tube extension.


Making some classy seatstays out of straight gauge.  Not the best braze here


Finished and ready for attaching to the bike.


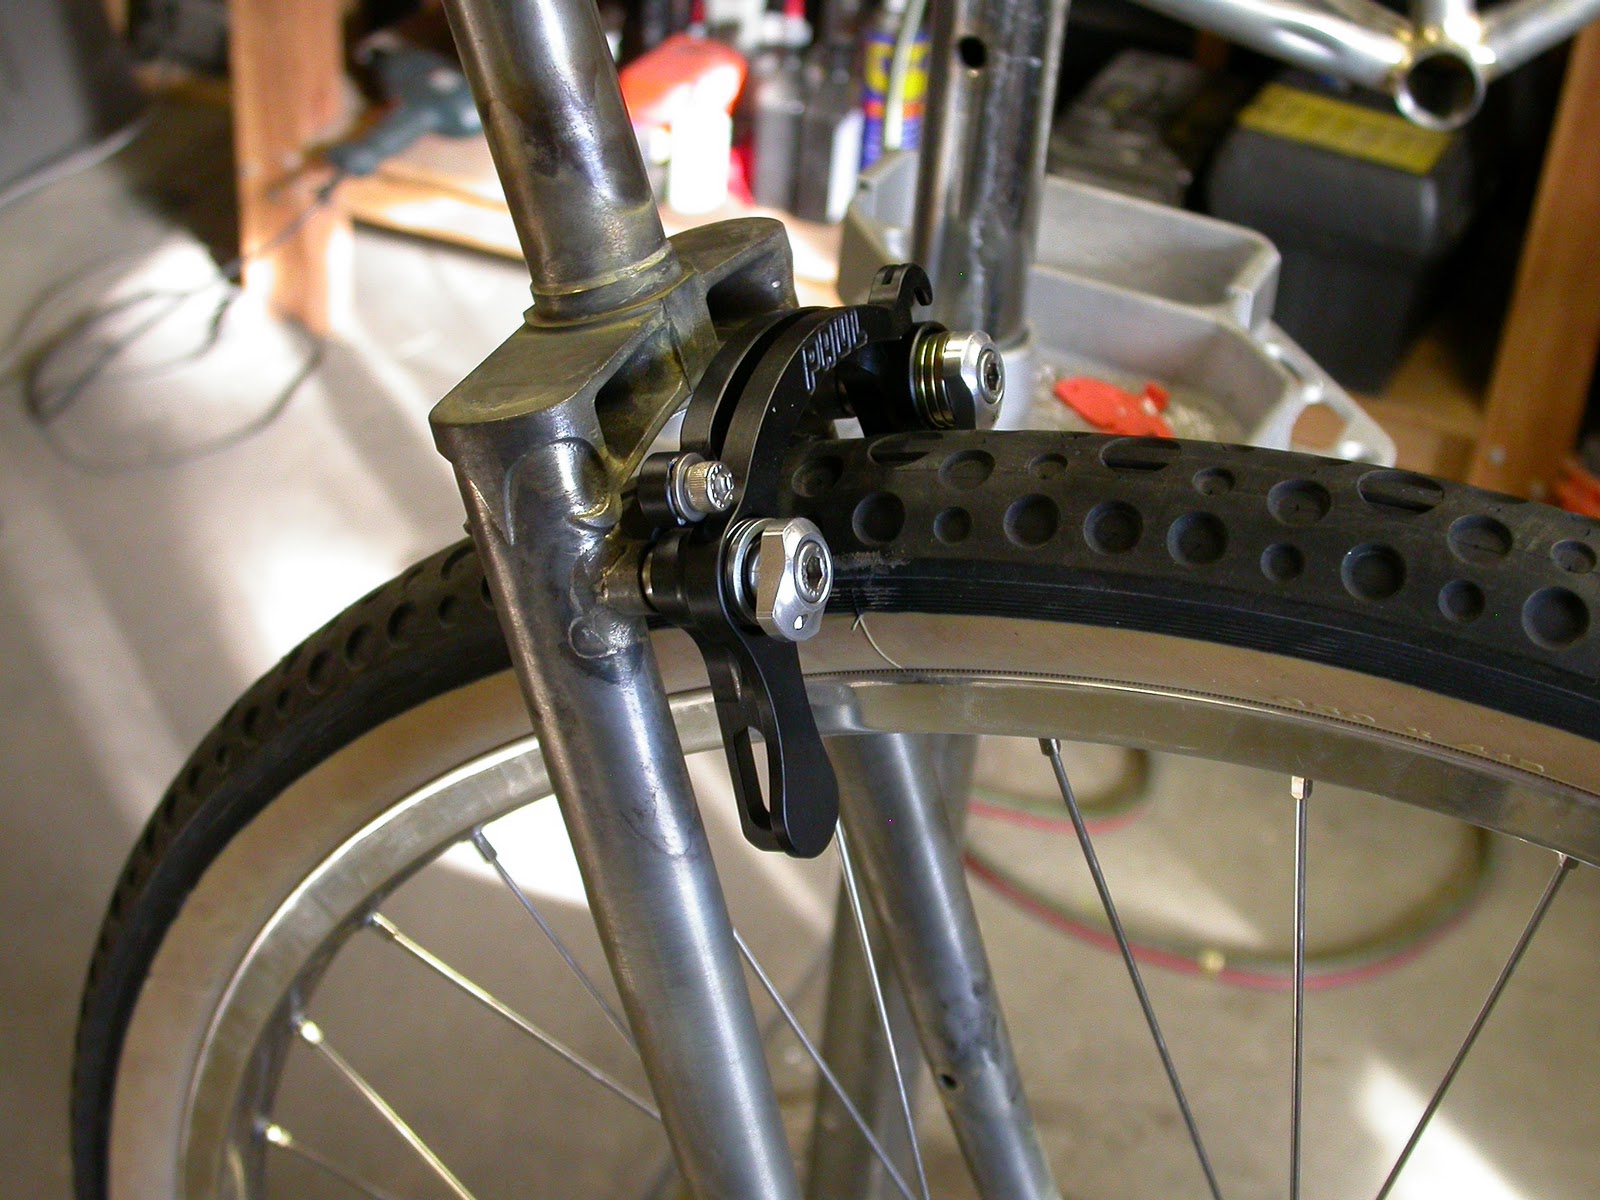
The fork is done and now its cleaned up.  Paul U-brakes.  I haven't hooked them up to a lever yet but they feel strong.


Tomorrow I get to put these things together into something cool.  I think I'm going to like this setup.  That's all for now.  Goodnight.

Friday, December 03, 2010

Chain Stays and Dropouts

I've been tending to mitre the front triangle and chain stays together, braze that whole thing, then do the seat stays.  Here's some pics of the chain stay/dropout work I did yesterday.


Here's the addition I do to the drawing to account for tire and chainring clearance when building the rear end.  Using the centerline of the bottom bracket from the original drawing I draw the back half of the BB shell--this one is 68mm--and extend a centerline to the rear axle to split the difference of 135mm.  I draw in the chainrings by using an assembled crank and BB.  This one is an old XTR square taper with 26/36/48 chainrings that is close to what Shawna will be running and for mock up I used a 107 mm shell.  Little rings have shown to be the biggest obstacle in chain stay clearance.  The vertical line to the right of the half bb shell represents the minimum chain stay spread at that point (i.e. tire clearance).  For this drawing I wanted 55mm spread at the full diameter of the tire.  I lay the stays down and line them up to see if they'll fit how I want.  This bike is getting True Temper bent oval chain stays.  Recently I've been using the S-bend stays, but the single bend ovals are good riding stays and I think they will fit this bike quite nicely.  They will take some working though.


Into the tire clearance machine.  I came up with this along the way last winter after seeing how some bikes needed more clearance.  Here is the chain stay pre tire clearance.  I mark the block so the stays sit at the same place and check the alignment as all parts of this machine sit pretty loose before clamping.


...and after the squish.  I measure the jaws to ensure they get squished the same.


Finished product.  I drew the lines on the stays thinking that's where I would center the bend, but I wound up not using that...mostly because the machine didn't want to do it that way.


Chain stays and dropouts brazed.  This bike is using Henry James cast stainless plug dropouts.  These things are super easy to use and make for a seamless finish.  The double eyelets are cast into the dropout and are very clean.  That's all for now.  I put in a late late night last night but the front triangle and chain stays are all brazed up and its sitting in the soak tank now.  I'll probably get back at it next week, but maybe I'll get some pics of the brazing up in the meantime....peace.

Thursday, December 02, 2010

Back in the Shop

I finally got back into the shop today even though I've been home for at least two weeks now.  I guess I've been unburying my stack of neglect from the past eight months of mostly absence.  But now that's coming to an end...the shop's clean, the firewood is coming along even though its already December, and today it was warm enough to get a good spell in the shop that lasted well into the evening.  That's really why I haven't gone out there...its been cold as balls here and its usually colder in the shop than it is outside.

Anyways I'm onto Shawna's....bike....actually I don't really know what kind of bike it is. That's sort of scary.  I guess I've become partial to building mountain bikes or at least fillet brazed bikes.  It'll be cool though.  Some sort of randoneur/tourer with 650b wheels and lugs throughout with Paul's new racer brakes.  It'll be crazy.  It took a few renderings and I ended up changing it up again today and slackening the angles half a degree and lowering the BB.  I think it'll work out well.

The request back in the east was more pics of what I'm doing and we just got a new internet connection up and running so we'll see if the uploads go a little more quickly.  Here's a show and tell of today's work.


facing the head tube/top tube lug so a head tube extension sits flush


the lugs do not have an even face from the casting injection.  the uneven color is where I started to face the down tube lug.


head tube/top tube lug and 20 mm extension.  The extension is a piece of 1 3/8" x .058" chromoly


both the lug and the extension are faced for a seamless fit.  when the frame is brazed I will sweat silver through the whole unit here and then clean up the finish with a file.  (the extension is slightly smaller)


marking the top tube mitre at the seat tube.  the head tube is already mitered.  I mitre everything with hacksaw and files at this point so I do them one at a time to minimize any chance for error.  These machined tubing blocks are invaluable to me.  from goodtimes bicycles


tacked BB/seat tube.  The discoloring is because I defluxed with a wire wheel instead of soaking.  I'll be fillet brazing the bottom bracket joint and chainstays.  This just seems to make more sense.  Lugs are a very big design constraint (certain size sockets placed at certain angles) and tire clearance is not a place where I want constraints.  Plus nice fillets here just look cool to me.


Mitering the downtube seat tube junction.


the first snow ride on the year on the General Lee.  I had to disconnect the brakes so they didn't pack up with snow as bad.  Enjoy y'all.  See ya.